
Window curtains can actually transform the overall look of the room. Whether it’s your rental home, your own house, or a villa. A curtain always provides a stylish look to any window. Window curtains are excellent at diffusing the light. Also, it gives full privacy to homeowners by reducing outside glare. They are perfect to prevent outside dust from entering your space. Drapes are good at preventing the sun’s rays and protecting your furniture from color fading.
All of these benefits can be achieved if the curtain fixing is done properly. For an seamless window curtain installation, follow this stepwise guide. We have listed down every single step for your convenience.
Best Window Curtain Installation Guide 2026
Curtain hanging seems to be a difficult task. But that can be achieved by following the tips and guides that are listed in this blog. Either you have a light-blocking blackout curtain or a sheer curtain. This guide accommodates every curtain-fitting style. With the right technique and efficient tools, you can get flawless drape installation in your home without investing money. So, move on to the step-by-step window curtain installation given below.
Gather Tools
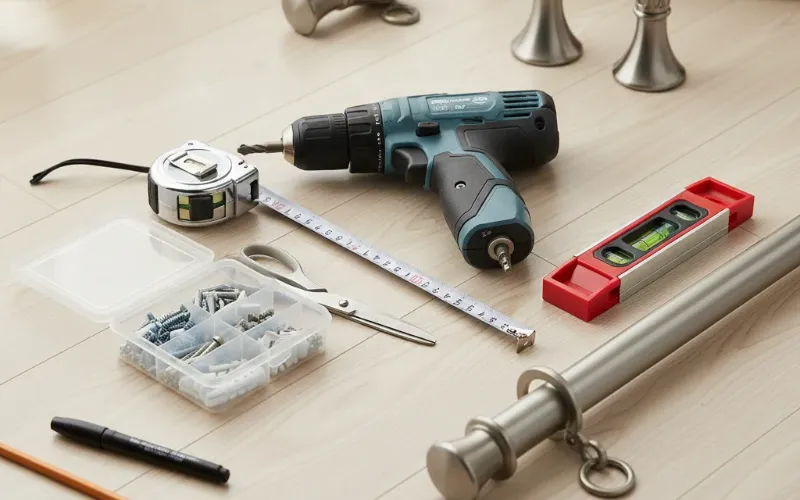
In order to begin the curtain fitting project, you need several equipments. So, view the items listed below for easy fitting of curtains.
- Tape Measurer
- Pencil
- Screwdriver
- Study finder
- Rod
- Level
- Drill bits
- Anchor
Measure The Windows
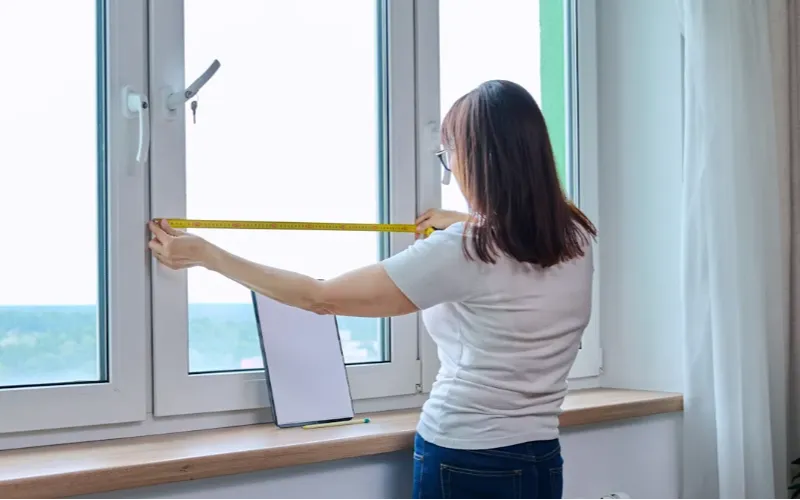
One of the key step while performing the installation is taking accurate measurement. Because ideal length and width provides perfect window drapes. Thus, reduce the risk of material shortage. All you need is a measuring tape and a pencil and start noting down the length and width of the blackout window curtains. For a curtain rod, keep it at least 6 inches above the window frame. Also, prefer to add at least 12-inch extension on each side to increase the width. Extra width can completely block the light. A longer rod gives a full look and a formal interior. After that, measure your window frame. Take a pencil and write down the length and width of the frame. Add some extra length and width for for fullness.
Plan Curtain Placement
After taking the measurements, decide where you want to place your window curtain. Also, take note of which installation style can best suit your space. When determining the length and width of the window frame, keep the style in mind in relation to your window placement. Either you are installing it in your bedroom or living room. Or you want a kitchen curtain or a drawing room window curtain. That all depends upon your decision. So decide on which location you want to fix your window drapery.
Spot The Bracket Location
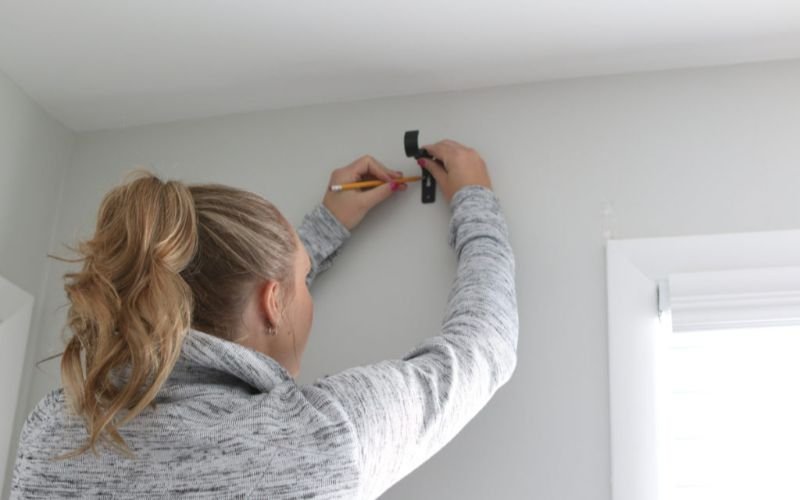
Now, take a level and a pencil and mark your window at the desired location. Spot the area where you want the bracket placement. Mark that spot so that you can fix the screws at the given location. Using the level, align the measurement and fix your brackets. It is advised to keep the measurement at least 6 inches from each side.
Insert Studs & Mark Pilot Holes
This step is important in blackout & sheer curtain installation. In the given circumstances, you need a stud finder. This helps in locating any pre-attached stud in the wall. You can also use wall anchors instead. Also, make small holes in the wall where you will fix the rod. Insert studs in the given area and fix each using a screwdriver. Tighten the screws in the wall to firmly hold the curtain.
Fix The Anchors
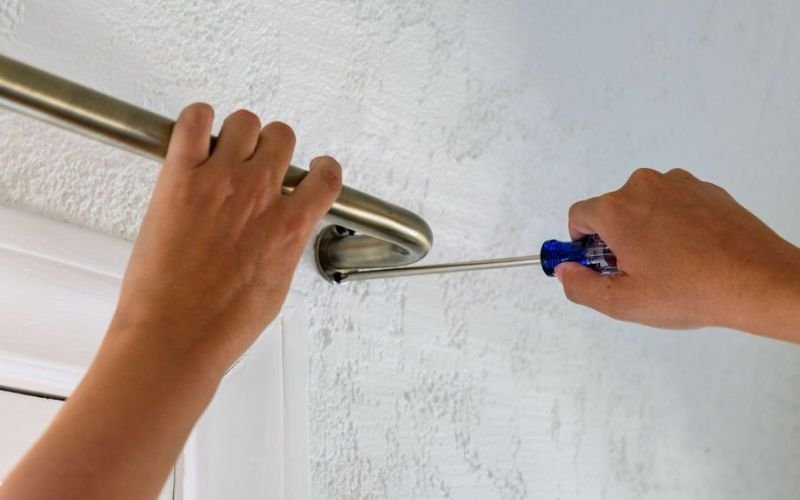
For a secure grip, use wall anchors to install the window curtains. In this case, you need to drill pilot holes to secure the wall anchor. For that, mark the spot and drill the holes at the given location. Also, if you do not have a screwdriver to fill the holes, then use a hammer to gently tap the anchor into place. This way, you can achieve a sturdy fit, and there are lower chances of a fall.
Place Window Bracket
It’s time to place your window bracket over the given anchors. In this step, you need a screwdriver to fix the anchors perfectly in the wall. Make sure your curtain rod is at least 3-4 feet high. Then use a central bracket to support the cotton curtains. Use properly sized anchors and screws so that the rods can be fixed well.
Mount Rod & Hang Curtain
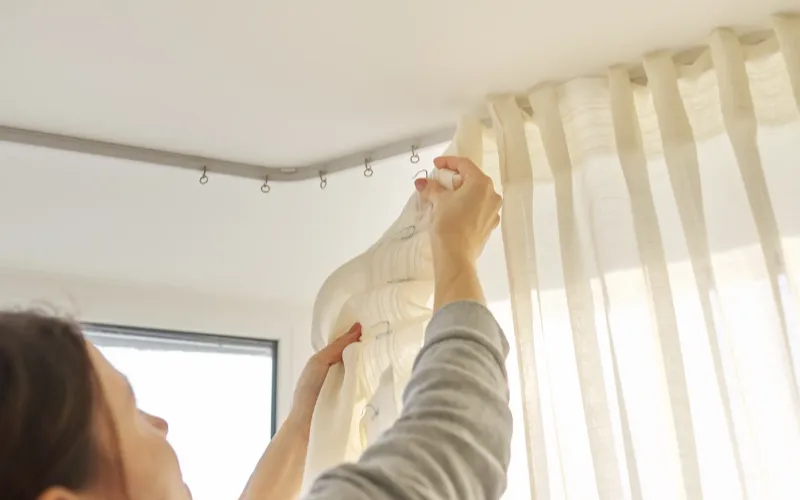
After fixing the bracket on the window. You need to remove the finial from the curtain rod. After that, place your window curtain on the rod slowly. Either you have grommet or rod pocket drapes, every curtain is hung in this step. But make sure to steam iron your drapery before hanging it over. Lastly, attach the finial top to the rod and fix the rod on the window frame. Spread the curtain to cover the whole window.
Useful Tips To Hang The Curtain In Windows
Among the versatile tips for hanging the curtains. We have listed the best hacks to install curtains smoothly.
- Make sure to hang your drapes higher than the asked measurement to give a taller look.
- Always use a spiral level so that rods and brackets are aligned.
- Precisely measure the window dimension to avoid discrepancies.
- The selection of the right hardware can avoid breakage or rod.
- Choose high-quality screws and anchors for perfect fitting.
- For windows that are wider than 4 feet, use the central support bracket.
- Do not forget to iron your drapery before placing it over the rod.
Wrapping Up
To sum up, curtain installation seems a bit of a tricky task, but you can complete it using our DIY installation guide. This gives you an idea of how to properly hang the curtains in windows. To address this query, our guide offers a step-by-step procedure. Starting from gathering the tools to taking the dimensions of the windows. Also, you need to decide curtain placement and bracket position. Then, mark the drill spots to get the idea of where to place the screw. After that, fix the brackets and curtain rod in the window frame. Lastly, hang your precious drapery over the rod. In this way, you can achieve a smooth and hassle-free installation without much effort.