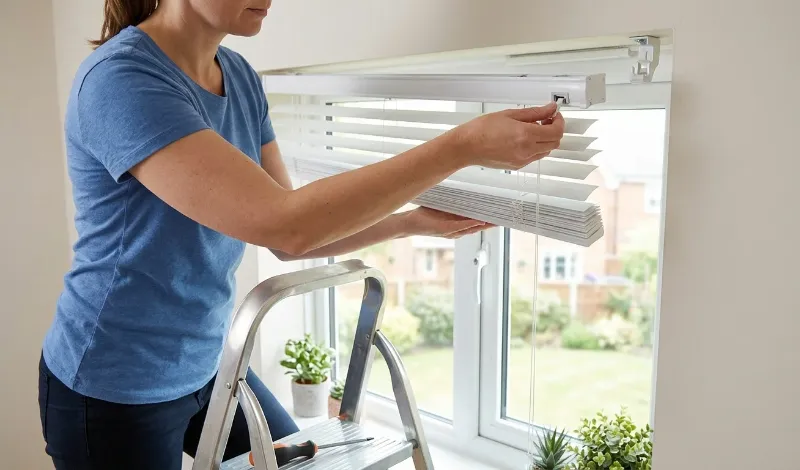
Whether you are replacing old window coverings, giving your blinds a deep clean, or simply refreshing your space, knowing how to remove blinds correctly can save you time and prevent damage. Many homeowners assume this is a complex task, but with the right approach, it is straightforward.
This guide walks you through every type, step by step. It also covers hidden brackets, safety tips, and what to do after removal. By the end, you will be confident enough to handle any blind removal without calling a professional.
Tools You Will Need Before Starting
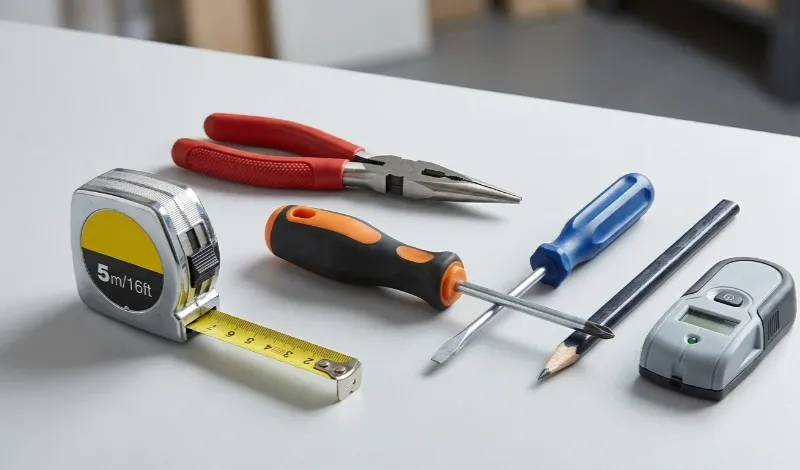
Before you begin learning how to remove window blinds, gather the right tools. Having everything on hand avoids unnecessary interruptions mid-task.
| Tool | Purpose |
| Flathead screwdriver | Opens bracket clips and releases safety clamps |
| Phillips head screwdriver | Removes mounting screws from brackets |
| Power drill | Speeds up bracket removal on stubborn screws |
| Pliers | Pries open stiff bracket clips |
| Step ladder | Gives safe and stable access to high windows |
| Soft cloth or towel | Protects the windowsill from scratches during removal |
Identify Your Blinds Type First
Knowing your blind type is the most important first step when figuring out how to remove blinds for windows. Different blinds use different bracket systems, so the removal method changes accordingly.
-
Vertical Blinds
Vertical blinds have long, hanging slats attached to a top track. They are common on sliding glass doors and large picture windows. The slats hang individually and can be removed one by one before the headrail comes down.
-
Venetian / Horizontal Blinds
These are the classic slatted blinds with horizontal strips that tilt and lift via cords or wands. They can be made of wood, faux wood, or metal. The headrail sits inside mounting brackets that are either fixed or spring-loaded.
-
Roller Blinds
Roller blinds use a single sheet of fabric that rolls around a cylindrical tube at the top. They are mounted inside two small brackets, one on each side, and usually have a chain or spring mechanism on one end.
-
Roman Blinds
Roman blinds fold upward in soft horizontal pleats when raised. They are fabric-based and can be corded or cordless. The headrail clips into small mounting brackets attached to the wall or ceiling.
-
Aluminum Blinds
Aluminum blinds look very similar to venetian blinds but are made from thin, lightweight aluminum slats. The removal process is the same as that of venetian blinds, but requires extra care because aluminum bends easily under pressure.
-
Motorized Blinds
Motorized blinds operate electrically via a remote control, wall switch, or smartphone app. They require one additional step before removal, disconnecting the power source safely.
How to Remove Vertical Blinds
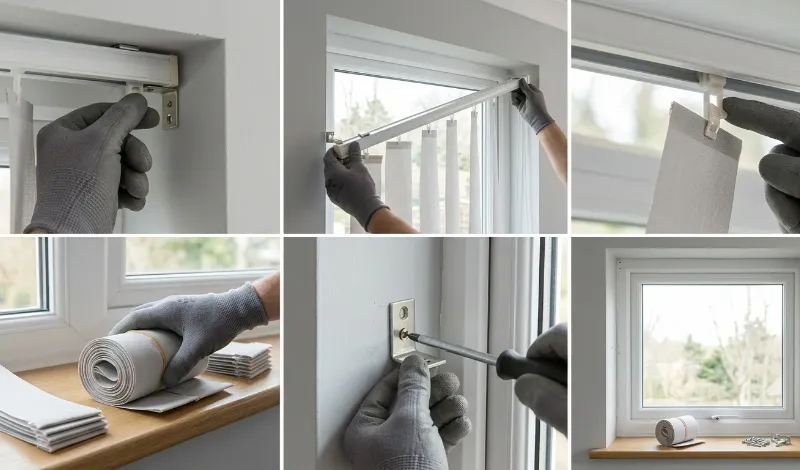
Vertical blinds are often large and cover wide windows or doors, so it helps to work from one side to the other.
Step 1: Open and Rotate the Slats
Pull the wand or cord to fully open the blinds and push all slats to one side. Then rotate the slats to the open position so they hang flat. This gives you clear access to the headrail and brackets above.
Step 2: Remove Individual Slats from the Track
Each slat hooks into a small carrier inside the headrail track. To remove them, hold each slat near the top and gently pull it downward at a slight angle. The stem or hook at the top will remove from the carrier. Work from one end to the other, removing every slat before touching the headrail.
Step 3: Remove the Valance
Many vertical blinds have a decorative valance that hangs over the headrail. It is usually held by plastic clips. Squeeze or press the clips and pull the valance away gently. Set it aside carefully to avoid cracking the plastic.
Step 4: Release the Headrail from the Brackets
Locate the mounting brackets at each end of the headrail. Most vertical blind brackets have a locking tab or lever on the front or bottom. Press or slide this tab to release the headrail, then lift it out of the brackets. Support the headrail with both hands to prevent it from dropping suddenly.
Step 5: Unscrew the Brackets
Once the headrail is removed, use a Phillips head screwdriver or drill to remove the screws securing each bracket to the wall or ceiling. Store the screws with the brackets in a labelled bag.
How to Remove Venetian and Horizontal Blinds
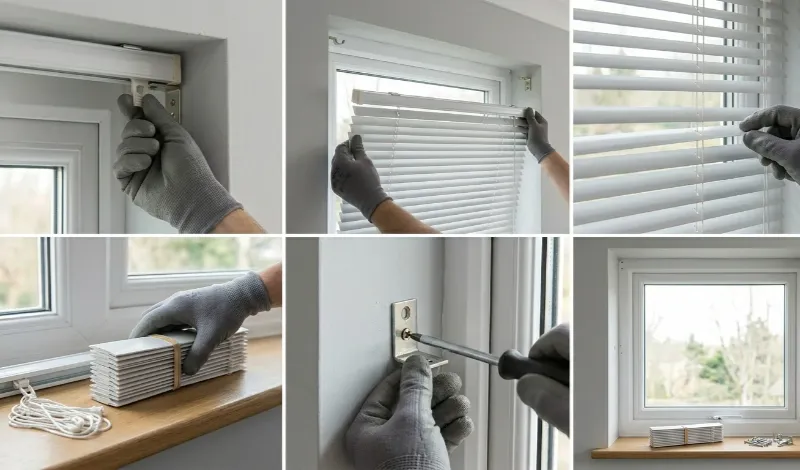
Venetian or horizontal blinds are among the most common window coverings. The process is simple once you understand how the brackets work.
Step 1: Fully Open the Blinds
Pull the lift cord to raise the venetian blinds completely into the open position. This brings all the slats to the top and makes it much easier to access the headrail and brackets. Avoid trying to remove the blinds while the slats are hanging down, as they add weight and restrict your movement.
Step 2: Remove Decorative Trim or Valance
Some horizontal blinds include a decorative front strip that covers the headrail and brackets. This trim is usually clipped in place with small plastic holders. Unclip it from each end and the middle, if present, then set it aside.
Step 3: Locate the Mounting Brackets
Look at each end of the headrail. The headrail sits inside two or more mounting brackets that are screwed into the window frame or wall. Wider blinds may have one or two additional support brackets in the middle. Take a moment to look at how the headrail fits inside each bracket before planning for removal.
Step 4: Release Fixed Brackets
For blinds with standard fixed brackets, insert a flathead screwdriver gently under the top of the bracket flap. Apply light upward pressure to pry the flap open, then rotate the headrail forward and downward to slide it out. Keep one hand supporting the headrail at all times.
Step 5: Release Spring-Loaded Brackets
If your blinds use spring-loaded brackets, the headrail will not simply tip out. You need to push the entire headrail firmly toward the window first. This compresses the internal spring inside the bracket. While holding it pressed toward the window, tilt the front of the headrail downward and pull it out of the brackets.
Step 6: Remove the Brackets from the Wall
Once the headrail is safely removed, unscrew each bracket using a Phillips head screwdriver or drill. Keep all hardware together in a bag if you plan to reinstall it.
How to Remove Roller Blinds
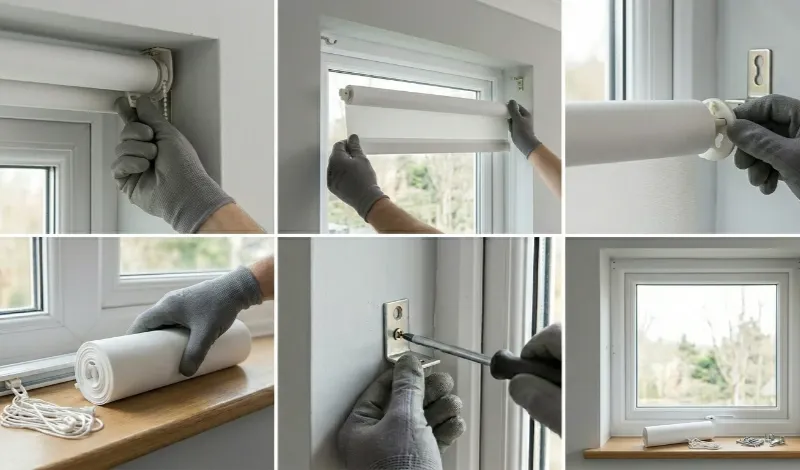
Roller blinds are one of the easier types to remove once you know where to look for the locking mechanism.
Step 1: Roll the Blind Fully Upward
Pull the chain or spring to roll the fabric all the way up to the tube. This reduces bulk and gives you clear access to both bracket ends at the top of the window.
Step 2: Unhook the Chain Safety Clip
If your roller blind is chain-operated, there is usually a small safety clip attached to the wall near the bottom of the window. This holds the bottom of the chain to prevent a looping hazard. Unclip or unscrew this clip and free the chain completely.
Step 3: Locate the Safety Clamp
At the top of the window, look at the end opposite the chain. This is where the safety clamp or end cap sits. It locks the roller tube inside the bracket during normal use, preventing it from falling out accidentally.
Step 4: Release the Safety Clamp
This step depends on the type of safety clamp your roller blind uses.
For standard or budget roller blinds
Insert a flathead screwdriver and gently pry the clamp away from the bracket until the tube end pops free.
For higher-end roller blinds
Pinch both sides of the safety clamp together simultaneously, then rotate the roller tube slightly to disengage it.
Step 5: Lift the Roller Tube Out of the Brackets
Once the safety clamp is released, the chain side of the roller will pull out of its bracket freely. Carefully lift the entire roller tube out and set it flat on a surface.
Step 6: Remove the Brackets
Use a screwdriver or drill to remove both brackets from the window frame or wall. If you plan to install new blinds in the same position, measure and photograph the bracket placement before removing them.
How to Remove Roman Blinds
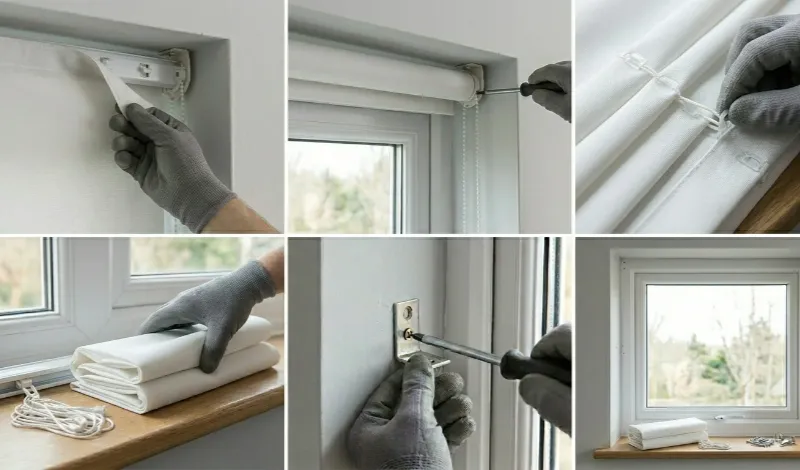
Roman blinds use the same basic headrail-and-bracket principle, but the fabric is delicate and must be handled carefully. Here is a detailed DIY blinds removal process for your ease. Look at below.
Standard Pull-Down Roman Shades
Step 1: Press the Headrail Backward
Use both thumbs to press the headrail firmly toward the window at each bracket location. This releases the tension that holds the headrail inside the bracket clips.
Step 2: Tilt and Pull the Headrail Free
While maintaining backward pressure, tip the front edge of the headrail downward and outward in a rolling motion. The headrail will detach from both bracket clips and come free. Lower it gently to avoid pulling the fabric suddenly.
Step 3: Remove Brackets if Needed
Unscrew each bracket from the wall or window frame. Roman blinds are often ceiling-mounted, so check whether the brackets are on the wall face or the ceiling before using the screwdriver.
Cordless Roman Shades
Step 1: Find the Release Button on the Headrail
Cordless roman shades have a small button or toggle on the rear face of the headrail. Press and hold this button firmly.
Step 2: Slide the Headrail Sideways
While holding the button, slide the headrail horizontally away from one bracket. This action eliminate the locking clip inside the bracket.
Step 3: Tilt and Remove
Once one side is free, tilt the headrail until it is horizontal, then pull it down and away from the second bracket.
How to Remove Aluminum Blinds
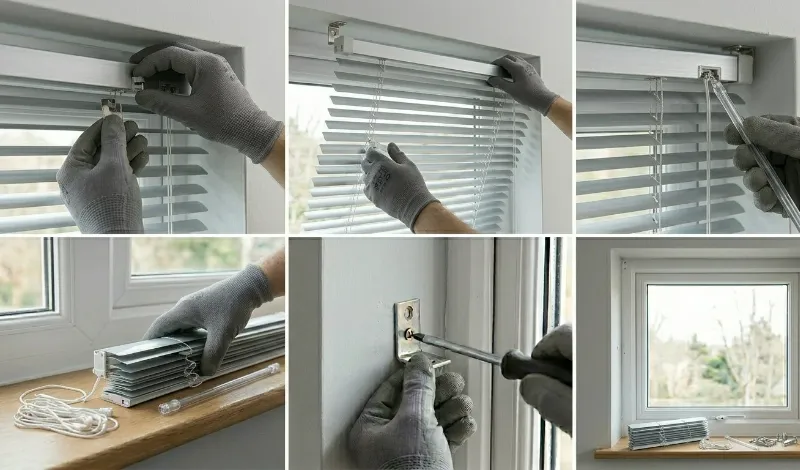
Aluminum blinds follow the same removal steps as venetian or horizontal blinds. Raise them fully, remove any valance, identify the bracket type, then release and lift the headrail out.
The one critical difference is the care required during handling. Do not grab the slats to support the blind while working on the headrail. Instead, support the headrail directly with your hand or rest it briefly on the window ledge while you manage both bracket ends. Once the headrail is free, carry the blind flat rather than bending it.
How to Remove Motorized Blinds
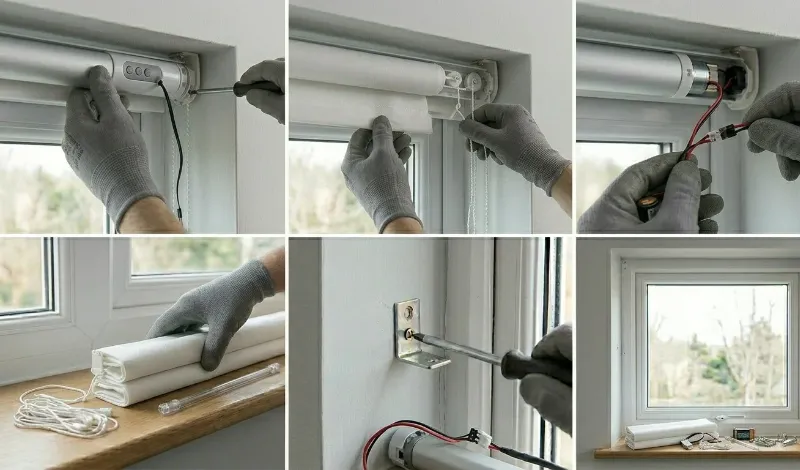
Motorized blinds have one additional step before the standard removal process begins. You have to disconnect all the electrical connections for safety purposes. Look at the step-wise blinds removal process below.
Step 1: Disconnect the Power
Turn off the circuit breaker that powers the blind motor, or unplug the unit if it uses a plug-in power supply. Never attempt to remove a motorized blind while it is still connected to power.
Step 2: Remove the Motor Cover
Some motorized blinds have a small plastic cover that conceals the motor end. This usually unclips or unscrews easily.
Step 3: Detach Electrical Connections
Gently disconnect any wiring harness or cable connector at the motor end. Do not pull on the wire itself; hold the connector plug and pull that instead.
Step 4: Follow Standard Removal
Once the power is disconnected, treat the blind like a standard roller or venetian blind, depending on its mechanism. The same bracket release steps apply.
How to Remove Blinds with Hidden Brackets
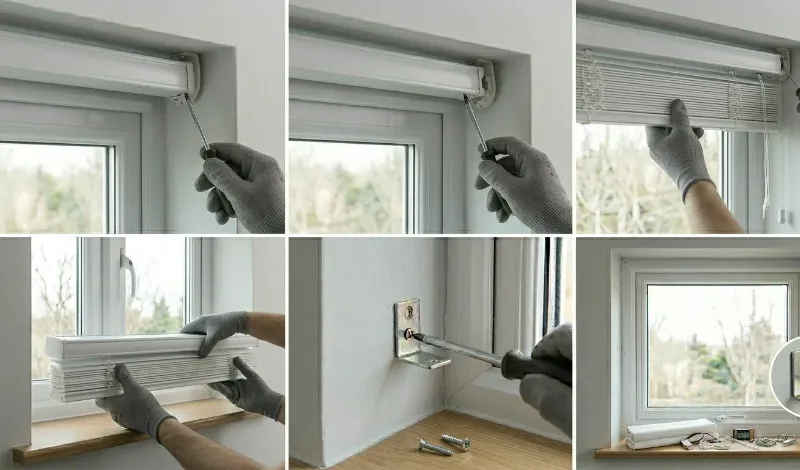
Some modern blinds have concealed or hidden brackets designed for a cleaner look. Let’s get to know how to remove blinds with hidden brackets. Follow this DIY blinds removal guide for your ease.
Step 1: Find the Release Point
Use a flashlight and run your fingers along the underside and rear of the headrail. You can turn off the floodlight for minor checking. Hidden bracket releases are almost always located on the underside.
Step 2: Unlock the Bracket Gently
Once you locate the release, use the correct action for that bracket type. Press the tiny tab inward, squeeze the clip from both sides, or push the lever downward. Always support the headrail with your free hand while doing this; the blind may drop suddenly once the bracket releases.
Step 3: Slide the Blinds Out One Side at a Time
Do not try to pull both ends free at once. Release one bracket, then slide that side of the headrail horizontally an inch or two. Once one end is free, move to the other side and repeat. This controlled approach prevents the blinds from swinging and getting damaged.
Step 4: Check for Additional Fasteners
Before fully detaching the headrail, look for any hidden screws or secondary fasteners that may connect the headrail to a cord or lifting mechanism inside. Remove those carefully before pulling the headrail away completely. Label and store all removed components.
Tips for Safe and Damage-Free Blinds Removal
These practical tips apply regardless of your blind type and make the whole process smoother.
- Always protect the windowsill by placing a soft cloth or folded towel on it before you start.
- Never pull the headrail without first releasing the bracket.
- Work one bracket at a time for large or heavy blinds.
- Release one end, support it, then release the other.
- Avoid holding the full weight with one hand for an extended time.
- Enlist help for large window blinds.
- Label all hardware with the room and window position before storing.
- Labelling screws, brackets, and components ensures a stress-free reinstallation later.
What to Do After Removing Blinds
Once the blinds are down, a few simple steps prepare the window area for whatever comes next.
- Fill Screw Holes if Replacing with Curtains
If you are switching to curtain poles or sheers, the old screw holes will need to be filled. Use a small amount of interior wall filler, let it dry fully, then sand smooth and repaint to match.
- Clean the Window Frame and Sill
Bracket fixings often leave dust marks and outlines on the wall around them. Wipe down the entire window frame, sill, and surrounding wall area. This is also a good moment to clean the window glass itself before hanging new treatments.
- Measure Carefully if Installing New Blinds
If new blinds are going up in the same position, take accurate measurements of the recess width and height before ordering. Also, check whether the old bracket holes can be reused or whether the new blind requires different fixing positions.
DIY vs Professional Blind Removal: Which is Better?
| Aspect | DIY Removal | Professional Removal |
| Cost | Free or minimal | Service fee applies |
| Time | Longer for beginners | Fast and efficient |
| Risk of damage | Higher without experience | Very low |
| Suitable for | Standard, lightweight blinds | Heavy, large, or motorized blinds |
| Safety | Ladder risks for high windows | Trained and insured workers |
| Best for | Budget-conscious, small windows | Premium or complex window systems |
Frequently Asked Questions
- How do you remove a blind from a support bracket?
Raise the blinds fully to expose the brackets. Locate the locking clip, lever, or tab on each bracket, usually on the front face or underside. Press or release this mechanism while supporting the headrail with your other hand.
- How do you remove horizontal blinds from brackets?
Raise the blind to the top, remove any decorative valance, then locate the brackets at each end of the headrail. For fixed brackets, use a flathead screwdriver to press up on the bracket door, then tilt the headrail out.
- How do you remove Roman blinds with hidden brackets?
Open the blinds fully. Run your fingers along the back and underside of the headrail to find the hidden release clips. Press each clip firmly while supporting the headrail, then tilt the headrail outward.
- How do you remove blinds without damaging the wall?
Always release the bracket mechanism fully before pulling the headrail. Once the headrail is removed, unscrew the brackets using the correct screwdriver rather than levering them off.